Learn HTML Interactive
In the space below, you can play around with various HTML <tags>. In HTML, you must always <open> and </close> tags. Some of the tags you may explore:
<h1>, <h2>, <h3>: headers of sizes 1 (largest) through 3 (smallest)
<p>: paragraph (can be 1+ lines)
<b>,<i>, <sup>, <sub>: bold, italics, superscript, and subscript
href: link a website
<img>: add an image
<ul>: an unordered list
<ol>: an ordered list
Buttons
Script
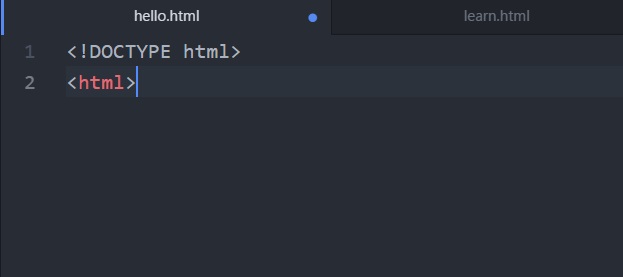
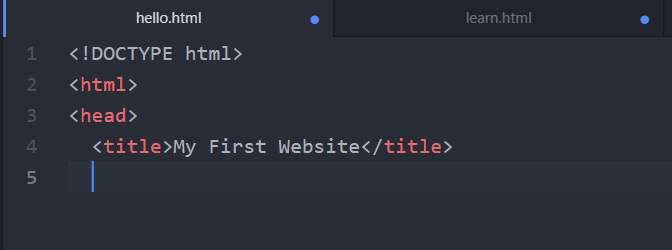
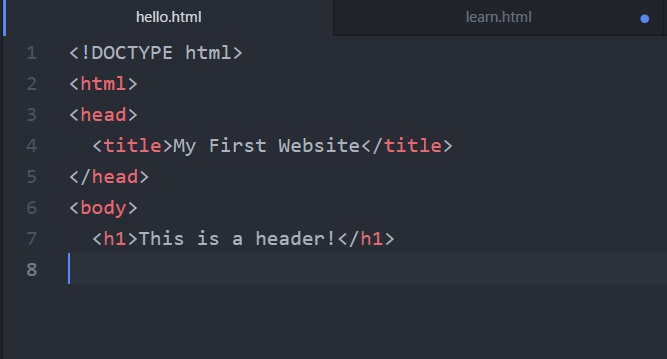
<!DOCTYPE html>
<html>
<body>
<h1> This Is A Header (size 1) </h1>
<h2> This Is A Header (size 2) </h2>
<h3> This Is A Header (size 3) </h3>
<p> This is a paragraph. </p>
<p><b>This text is bold.</b></p>
<p><i>This text is italic.</i></p>
<p>This text is <sup>superscript.<sup></p>
<p>This text is <sub>subscript.<sub></p>
<a href=" https://www.youtube.com/watch?v=CE-JlvmnRtY "> This is a link. </a>
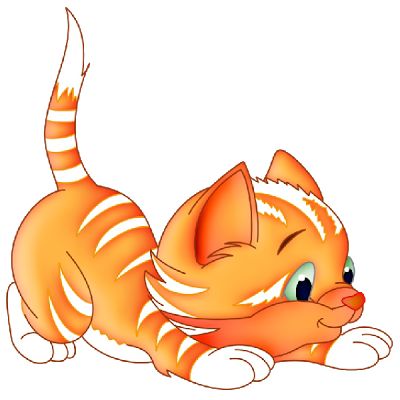
<img src="img/cat.jpg" alt="cat.jpg" width="200" length="200">
<ul>
<li>This is an unordered list.<li>
<li>You can list items.<li>
<li>This list uses bullet points.<li>
<ul>
<ol>
<li>This is an ordered list.<li>
<li>You can list items using numbers.<li>
<li>It's great for keeping track of how many items are in a list!<li>
<ol>
</body>
</html>
Output
This Is A Header (size 1)
This Is A Header (size 2)
This Is A Header (size 3)
This is a paragraph.
This text is bold.
This text is italic.
This text is superscript.
This text is subscript.
This is an unordered list.
You can list items.
This list uses bullet points.
This is an ordered list.
You can list items using numbers.
It's great for keeping track of how many items are in a list!