Learn CSS Tutorial
1. To start refer to the setup to learn how to save the file correctly
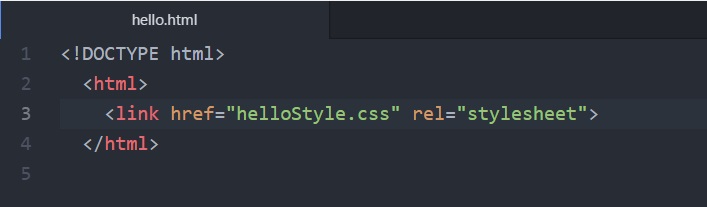
2. In order for you to link your HTML page to your CSS page, you will need to go to your HTML page and write
'<link href="helloStyle.css" rel="stylesheet">'
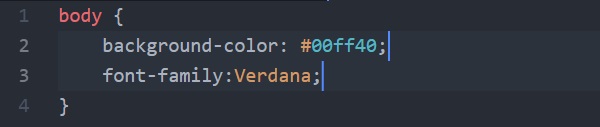
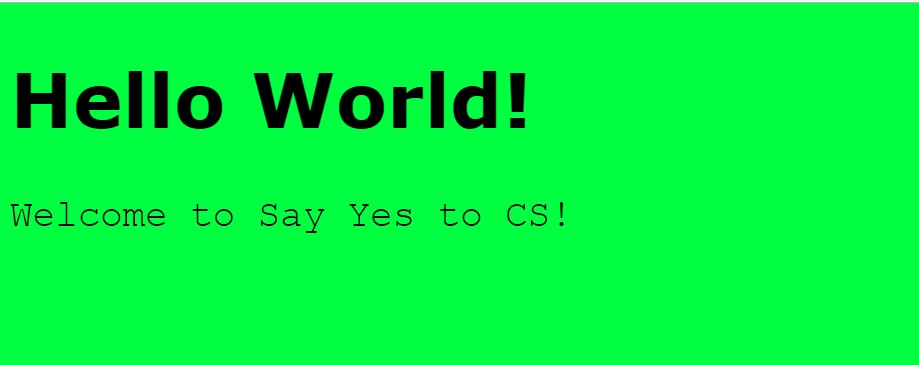
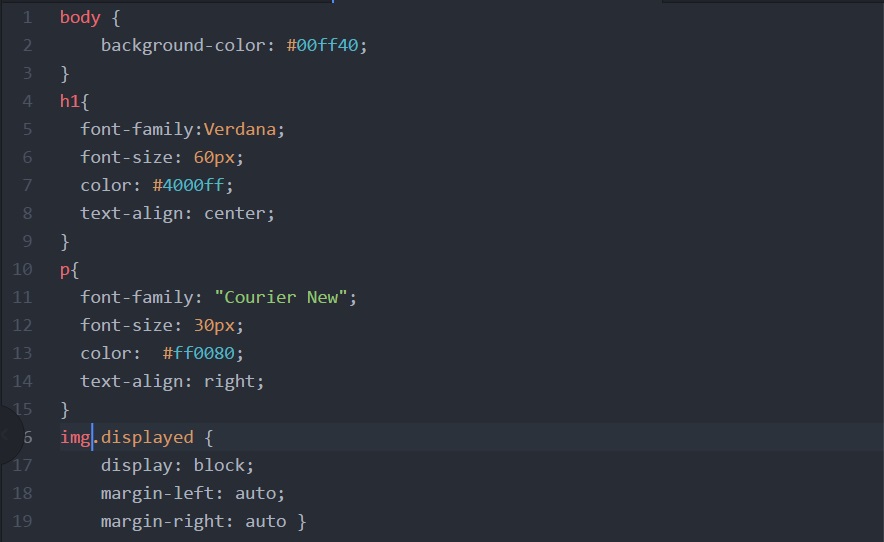
3. First lets change the background color! Your headings, text, pictures, etc. are in your body tag. So,
to change the background color for everything you need to do something like this:
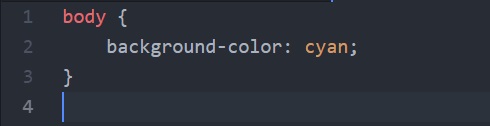
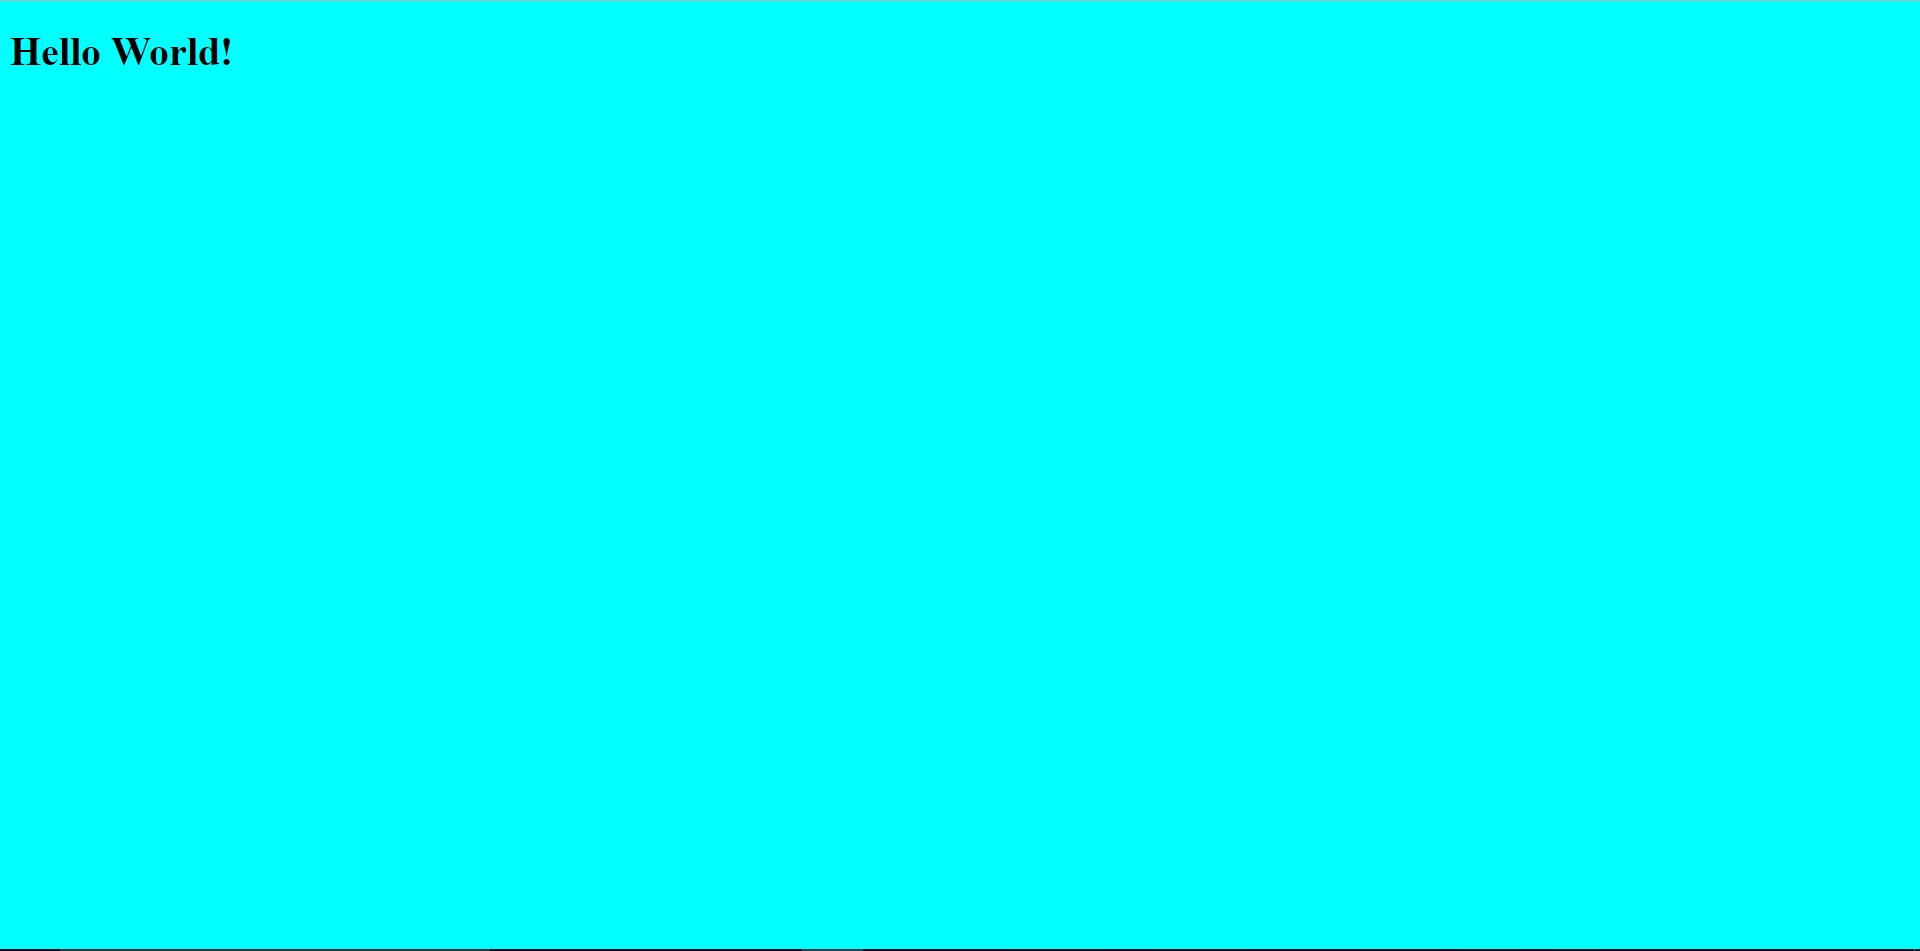
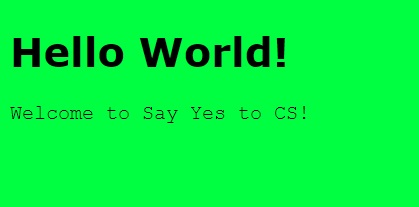
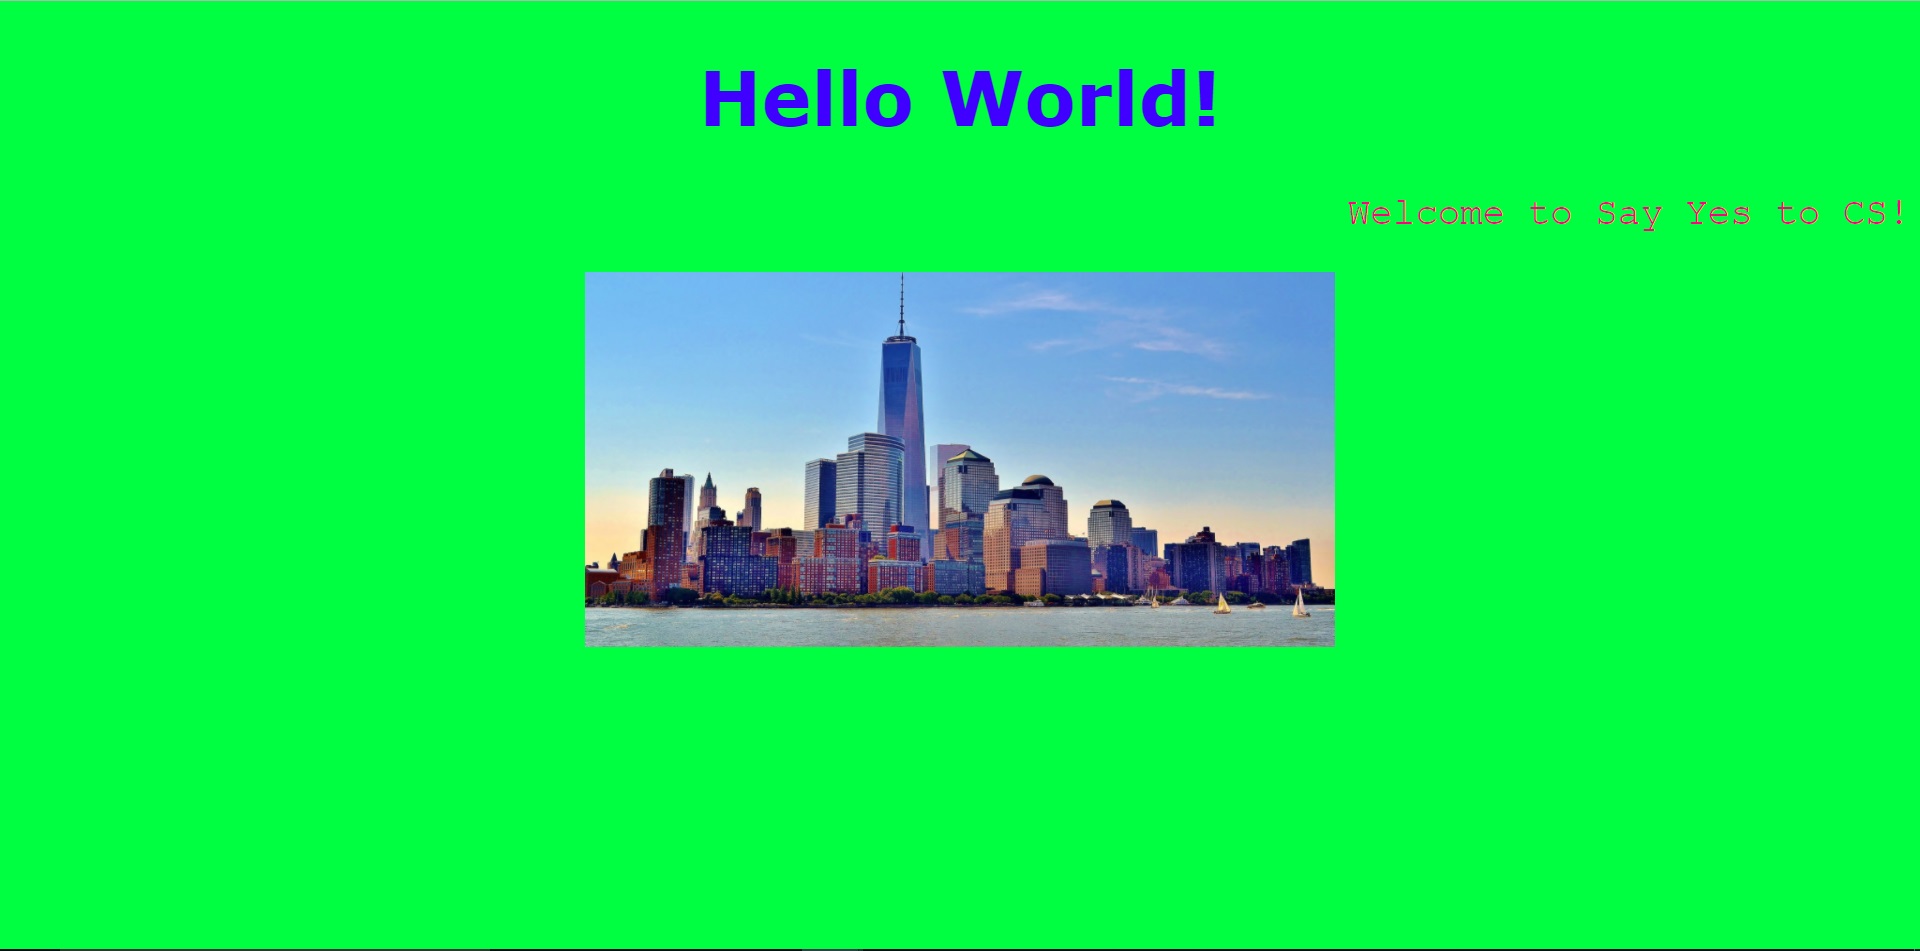
(The 'Hello World' statement is just a place holder for us your website should say whatever you put in your HTML file)
You don't need to make the color cyan. CSS has only a couple of the basic colors that you can use by writing
their name, but you could replace the name with color codes that are in quotes. Here's a link to a bunch of different
color codes you could use.Click Here!

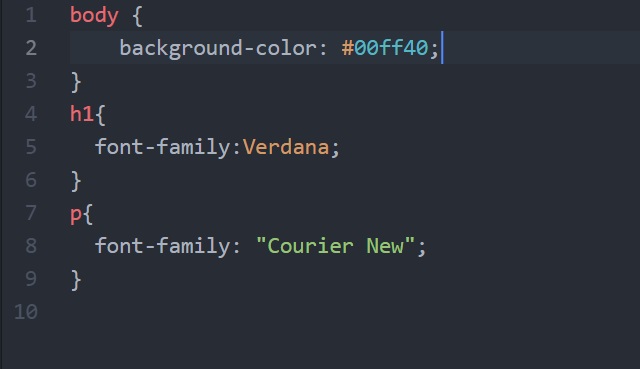
4. To change the fonts you have a couple of different options.
Option 1: If you want to have the same font for everything on your page you can do this:

Option 2: If you want to make your paragraphs and headers different fonts you can do this:
There are a bunch more fonts you can use. Here's a link to some.
Click Here!
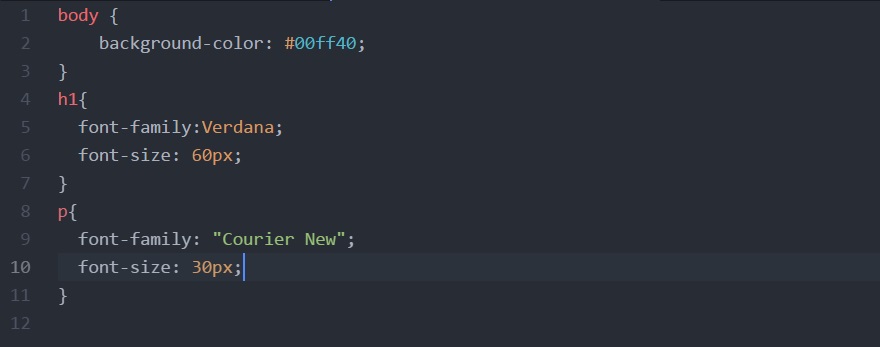
5. To change your font size you have the same two options. I will show you the way to do it separately
for your paragraphs and headers. You can also write the same line just in the body if you prefer to do it that way.
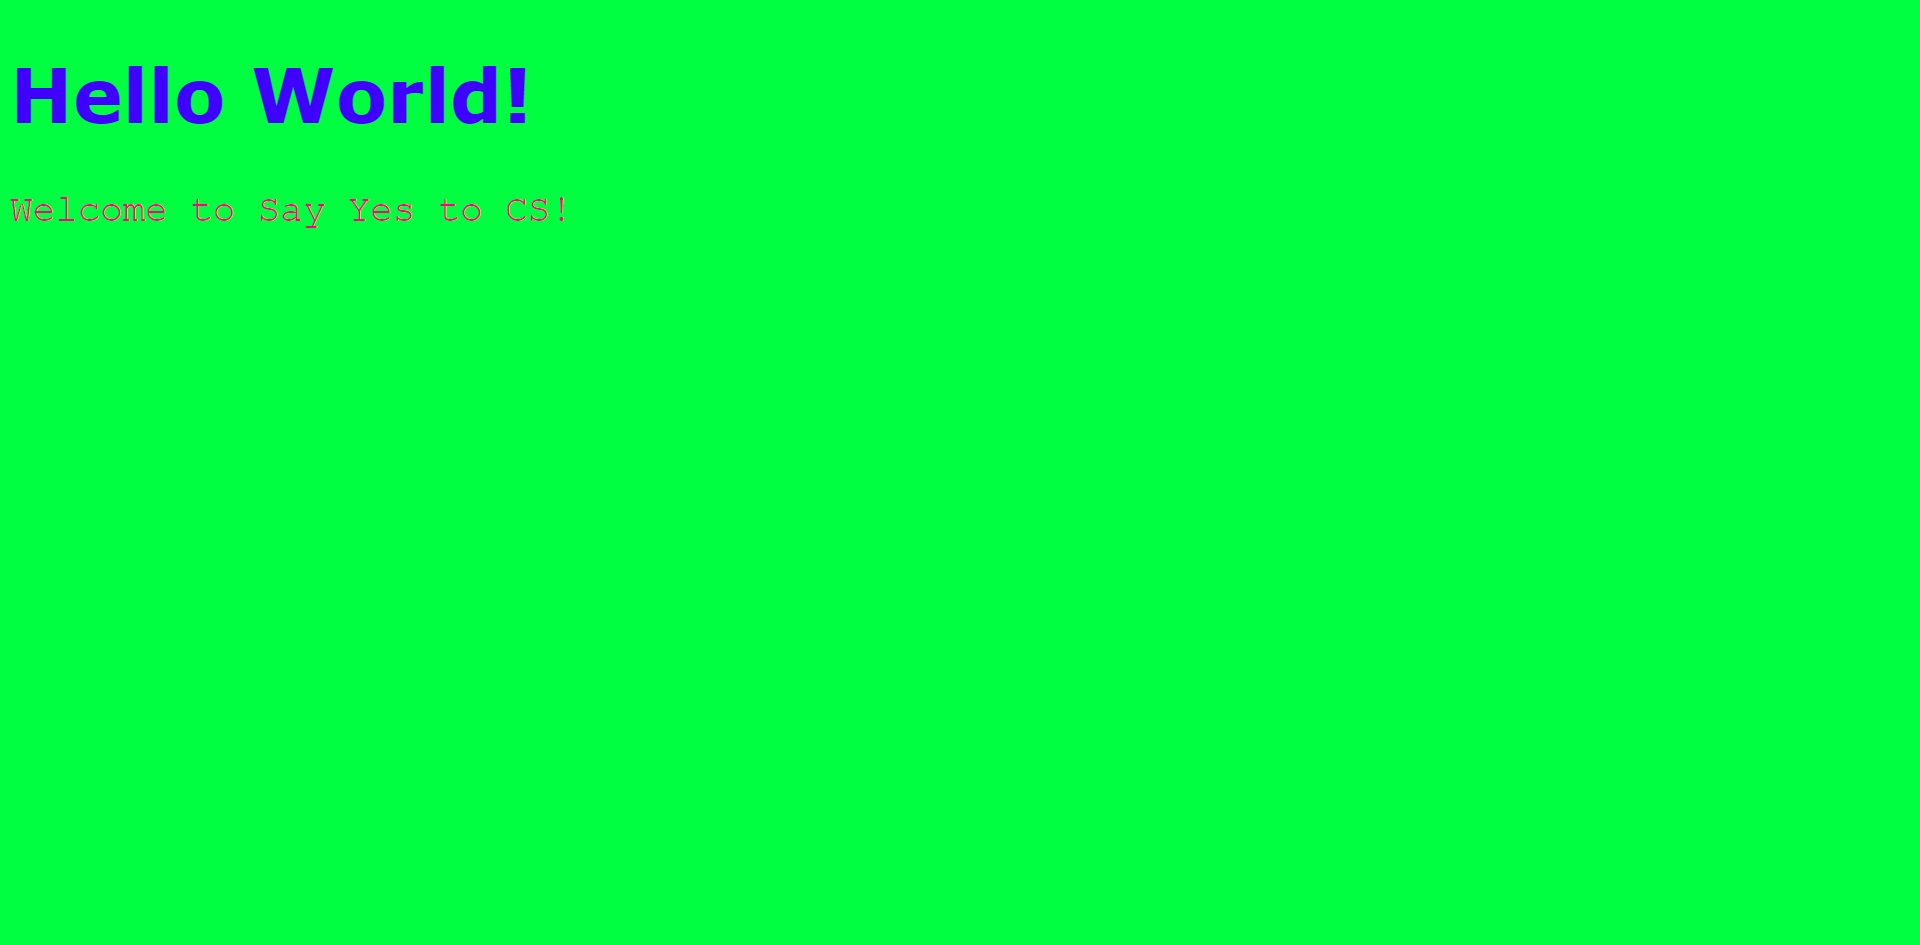
6. You have now changed your font, background color, and font size! The next step is changing your font color!
Once again like the features above you can do it all in the body if you want it all the same color.
Otherwise, you can choose to do it like we did it below:
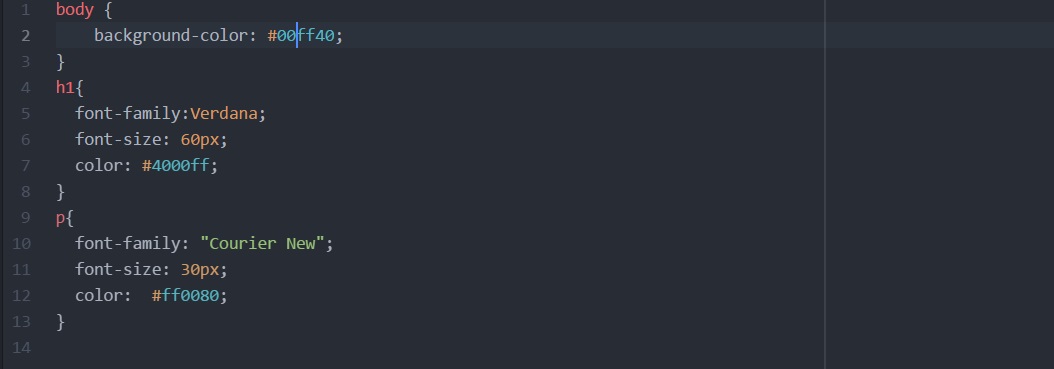
Remember that you can get the hex color codes from the website linked above for background colors.
7. You've been probably wondering how to get your text aligned to the center, right, or left. Like all the ones above,
feel free to do it in the body if you want all your text to be aligned the same way.
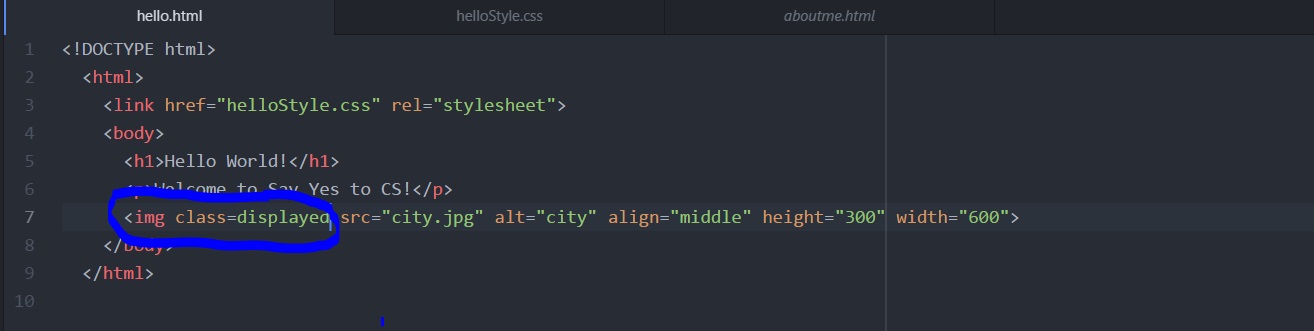
your picture will already be aligned with the rest of your text. On the other hand if you separated it like
the example we showed this is how you will center your picture! Centering a picture is a bit more
complicated. This is because you will need to make a class and adjust parts in your HTML file and CSS file.
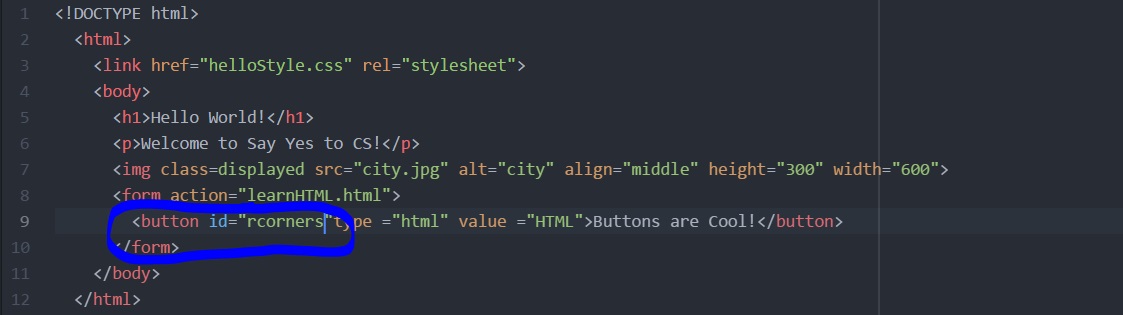
Below is your HTML file on top with a circle on additional things you need to add,
Css file in the middle, then the output on the bottom.
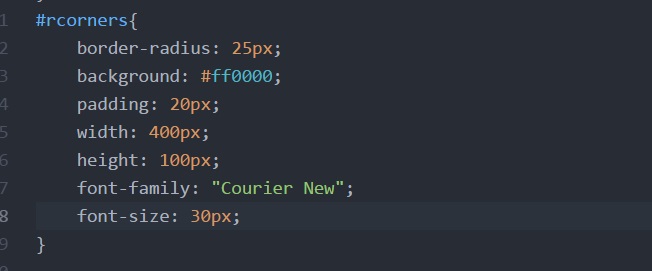
9. Your buttons may look very plain right now. Here's how to make them look sleek and exciting!
Of course there is always many ways to make your buttons look cool. For example, you can make them change
color when you hover or you could make them round or square! For our purposes we will teach you how to make them
rounded and how to change their color. Once again the pictures go from HTML, CSS, Output.
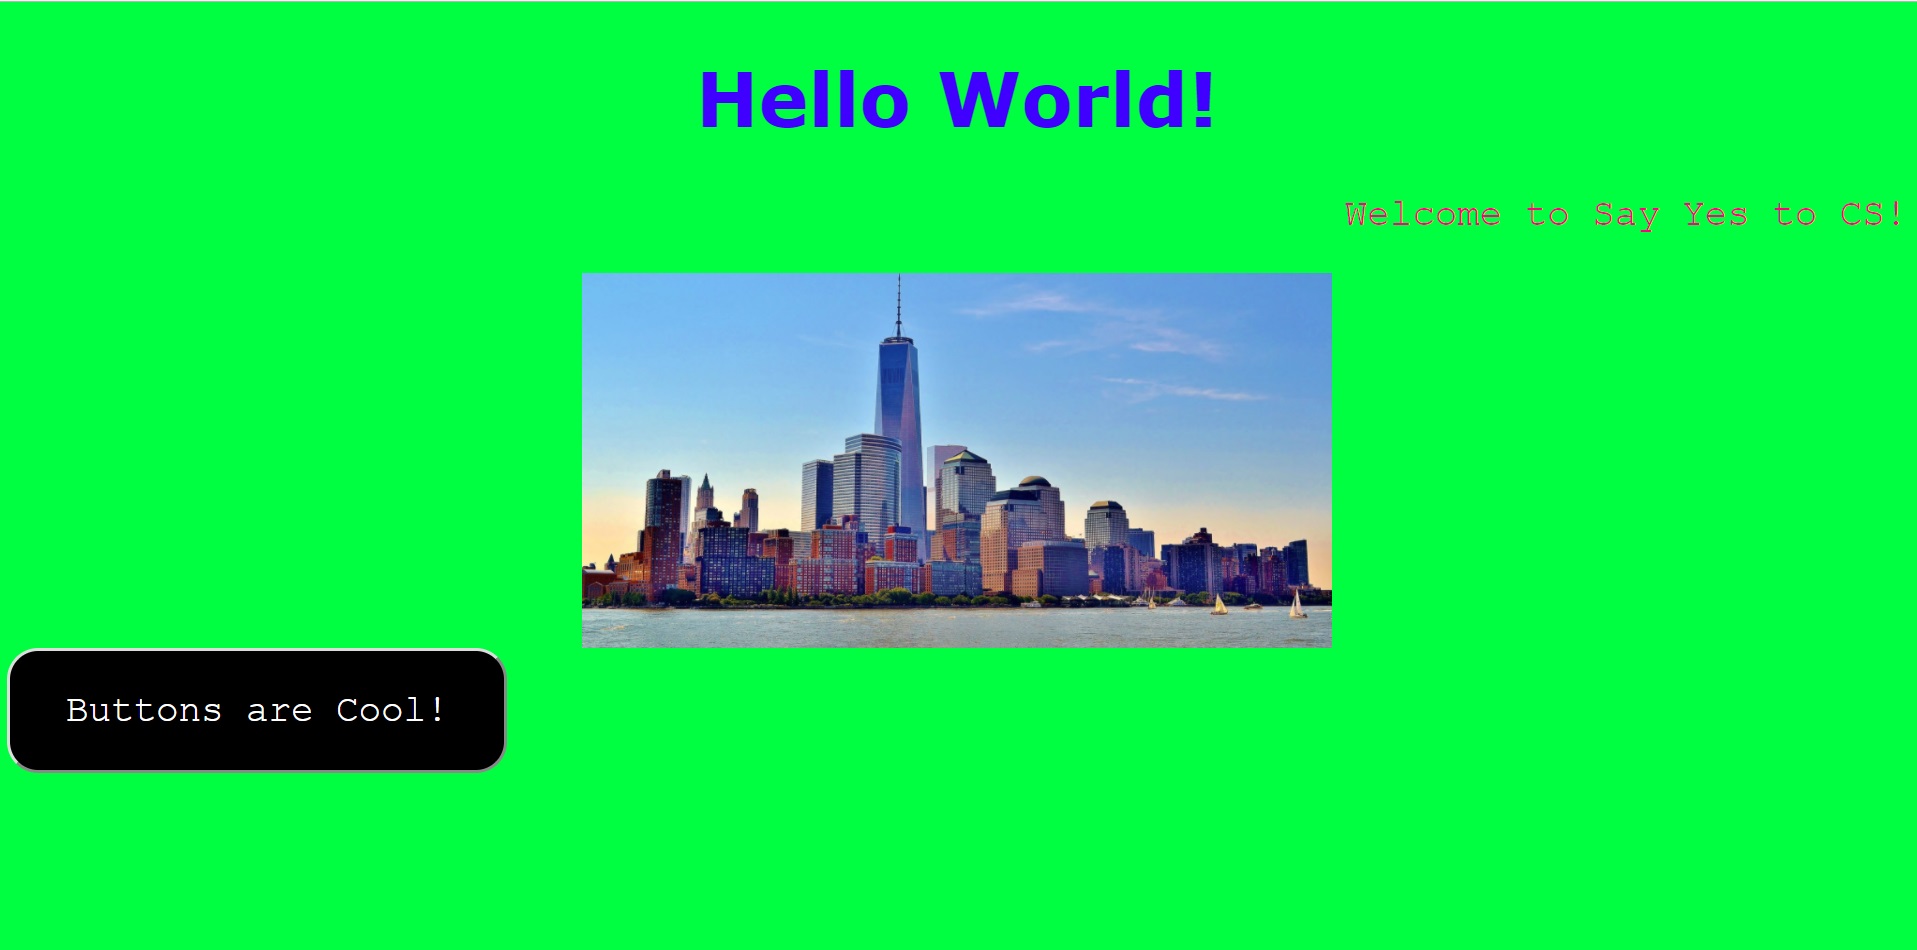
In this example there are a lot of the things that we talked about above put together.
You can change any of these things and you should play around with them to see what kind of
display you like.
Have fun exploring CSS!